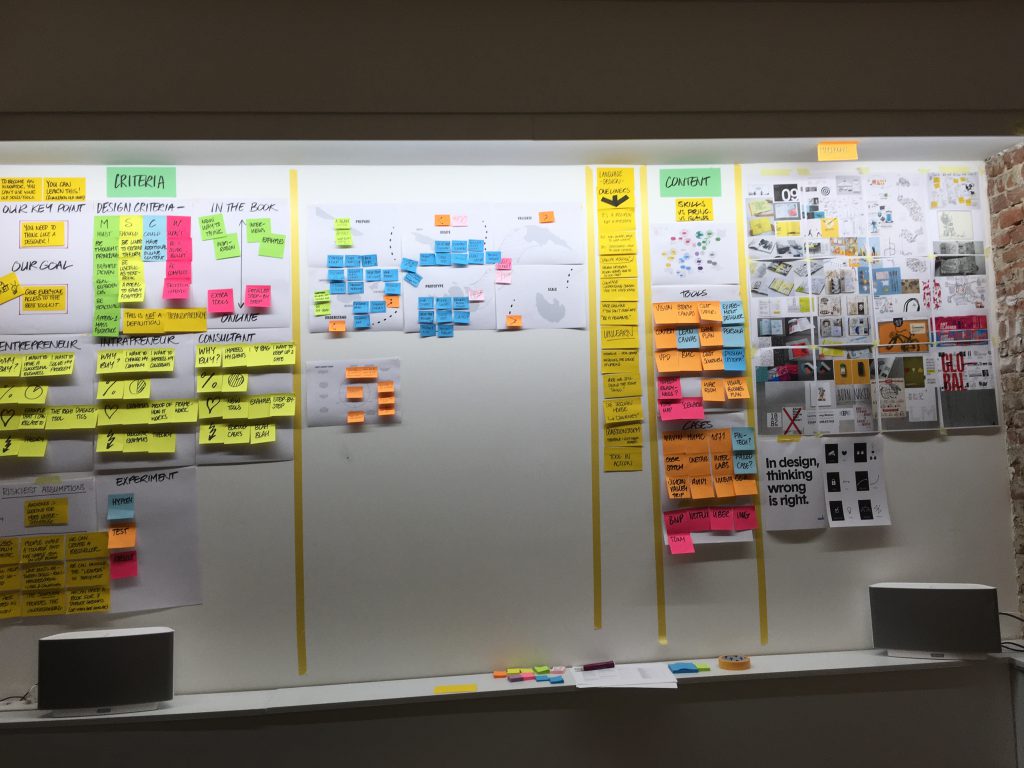
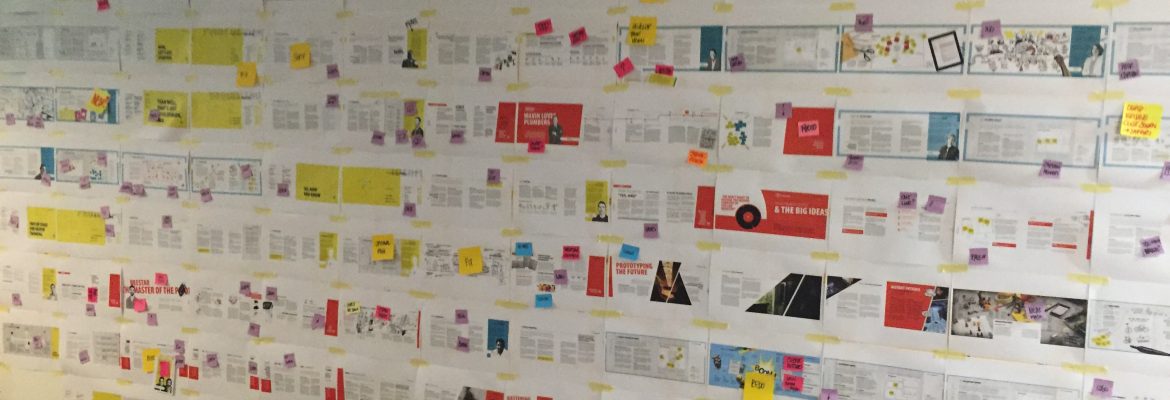
Designers have worked in a visual way for ages, using the walls in their workspaces to put up designs, diagrams, and references. This made it easy for them and often for their team to grasp the project they were working on and keep overview, allowing for new connections and perspectives. you can work like that too!
War Rooms
Today, techniques like scrum already use wall space to bring teams together, making them work more effectively. But scrum walls are just the tip of the iceberg when it comes to the improvement you can have with your team when you start to work visually using war rooms
Working visually helps you use all the brainpower you have in your visual system to tackle work, rather than reducing yourself to the 7+/- 2 items you can keep in your working memory. The human brain has a great visual and spatial memory. By using wall space and landmarks, it is super easy to mentally track and see organization in a large amount of information. Lists and written notes can never do that. To work with a list you need to actively hold it in your short term memory, and that is actually the weakest part of your memory.
Proponents of visual thinking such as David Sibbet have been creating templates and visual ways of working for a long time to be used in workshops and meetings, where visual facilitation can have a huge impact.
WAR ROOM TEMPLATE
Get the template from the toolbox
The tools we describe in Design A Better Business work together in bringing the power of visual thinking and visual facilitation beyond meetings into the daily process of how a team works together. But besides these tools, you will be able to use many more (or go free format!)
Benefits of a war room
WAR ROOM INSPIRATION
War Rooms on Pinterest
- Less (useless) meetings – the writing is on the wall
- More overview, better communication among the team
- Easy onboarding for new team members, easy status updates to executives
- Better output (avoid going down the wrong rabbit hole)
- Supports the design process, allows new connections and asking new questions
- More inspiration and more fun working on the project
What you will need
To have a good war room, you will need a number of things in place:
- Keep it visible and central, keep it fun!
- Wall space where you can leave stuff on the wall
- Colored sticky notes, tape, wet-erase markers
- Whiteboards
- Mobile furniture
- A color printer
- Photo camera to take notes
- Music
The most important part though, is that you will need a team who are open to working in this way. Transitioning a team is best done by starting small and finding advocates, and using obvious elements (such as planning) first. Make sure to maintain the war room regularly, have someone in charge of keeping it organized. Nothing is worse than a war room that fades away, post-its dropping off the wall like flies. Once your team starts to integrate this way of working into their daily process, you will see far fewer useless meetings, and far better communication, and better output.
Setting up your war room – Information Design
Besides having a space, the organization of the war room is important. There are 4 main types of information to organize on the walls.
- Your Point of View – what is the core of your project? What are your current design criteria and vision. What do you believe in? Why do you do this project? – Reserve about 10% wall space in a prominent spot for this. Templates you can use find here are: 5 Bold Steps Vision, Design Criteria, moodboards and style guides
- Information that is INPUT for your project – moodboards, reference materials, research, current state of things such as customer journeys – Reserve 25% of your wall space for this. Some of this won’t change during the project, some will. Here you can find inspiration material, reference, research, Customer Journeys, Personas, Context Maps.
- Information about what you are actually building. Putting this on the wall will make people able to access and discuss it, and will make reviews much easier. Track the status with post its. – Reserve 35 % at least, this is the section that will most frequently change. Here you’ll find Prototypes, Experiment Canvases, designs, sketches, other diagrams.
- Information about RUNNING the project (planning, road maps, team roles, scrim boards, calendars etc) – Reserve about 10-20% of your wall space, in an easily accessible location. This is where you’ll find Scrum boards, Validation Canvases, Riskiest Assumption Canvas, and roadmaps.
- Additionally, reserve some Parking space. You will always need an area where unstructured things can happen, where chaos can thrive. This could be a parking spot for new ideas, or it could be where team members put a joke down or a big slogan. Unstructured space will allow new ideas to grow.

Making the war room easy to navigate
When you first come into a war room, it can be quite overwhelming. A sea of post-its, prints, etc. Everything looks similar from a distance. To make this less daunting, you should make your war room easy to navigate.
Create Hierarchy
First of all, you need a visual hierarchy. This allows you to understand what part of the war room has what kind of information, from a distance.
You can do this through:
- Position – accessibility and prominence can be used to break up the war room. More important things should be immediately visible.
- Size – important things such as your Point of View should be big and prominent
- Labels and Icons – Big lettering or icons help
- Color – things of the same color go together – using a color code for different aspects of your project can reveal patterns.
- Borders – such as colored tape borders to group things
- Landmarks – unique, recognizable elements, such as a poster, or perhaps something that is already in the room, such as a water cooler, or a couch. Use these elements to group things together that have a common purpose.
Organize by Purpose
TOUR GOOGLES WAR ROOM
This video shows you a tour of a Google war room
The second thing to look at is the purpose of war room artefacts. Things that are used together should go together. Things that need to be accessed frequently, such as planning, or designs, should be accessible in an easy way. Don’t put the scrum board in a corner, as that is where you need your whole team to access it. Don’t hide away your core Point Of View elements.
Managing your war room
Have one person be the war room’s manager or curator. Not that this person should be the only one deciding what goes up (that is up to the team) but he or she should be the one asking team members to organize, clarify what is on the wall, and make regular tours marking stuff for deletion. This can also be the person tasked with regular pictures of the room that can be archived and shared to keep track.
It is not (really) an archive
Things that you don’t need anymore can be removed. The point of the war room is not to track all the stages in your project. When information becomes outdated or irrelevant, just take it down.
War Room Hacks
- Hack a space – Steal a space in your business that is visible and underused (around the coffee machine?) to showcase what your team is doing.
- Mini war room – When you have no space, using an office door is a start!
- Sensitive material – When working with sensitive material, you can still use a war room if you are either able to lock the room, or have something to cover the wall if it needs to be hidden.
- 3D war room – Break away from the wall and use 3-d objects such as Lego Serious Play, game boards, or maquettes
- Do it online – Mural.ly is a great tool to work with different team members online on the same large wall.
Save the environment
Of course this all takes a large amount of paper so be smart in printing and recycling!

